Like any self-respecting geek, as soon as I heard about the Arduino, I wanted one. Admittedly I was pretty late to the party, way past what could pass for fashionably late, as I only found out about it a year and a half ago. But anyway, no sooner had I heard about it than I was adding an Arduino Uno to my basket and checking out on Amazon.
I diligently worked my way through the first few projects in the book that came with the Uno, which provides a nice and gentle introduction to electronic circuits. Inevitably I started dreaming up grand designs for what I was going to do with my new toy. I had visions of some artificially intelligent robot that could rove amiably around my flat without smashing into anything, learning the layout as it went, and perhaps letting me know if it's going to rain later. The problem with this was that it assumed that I'd be able to wield the tools necessary to build the thing. I'm not exactly renowned for my construction skills, and this presented a clear barrier to achieving what I wanted. I considered various construction sets, such as LEGO and Meccano, but I was still left with the problem of integrating them with the Arduino.
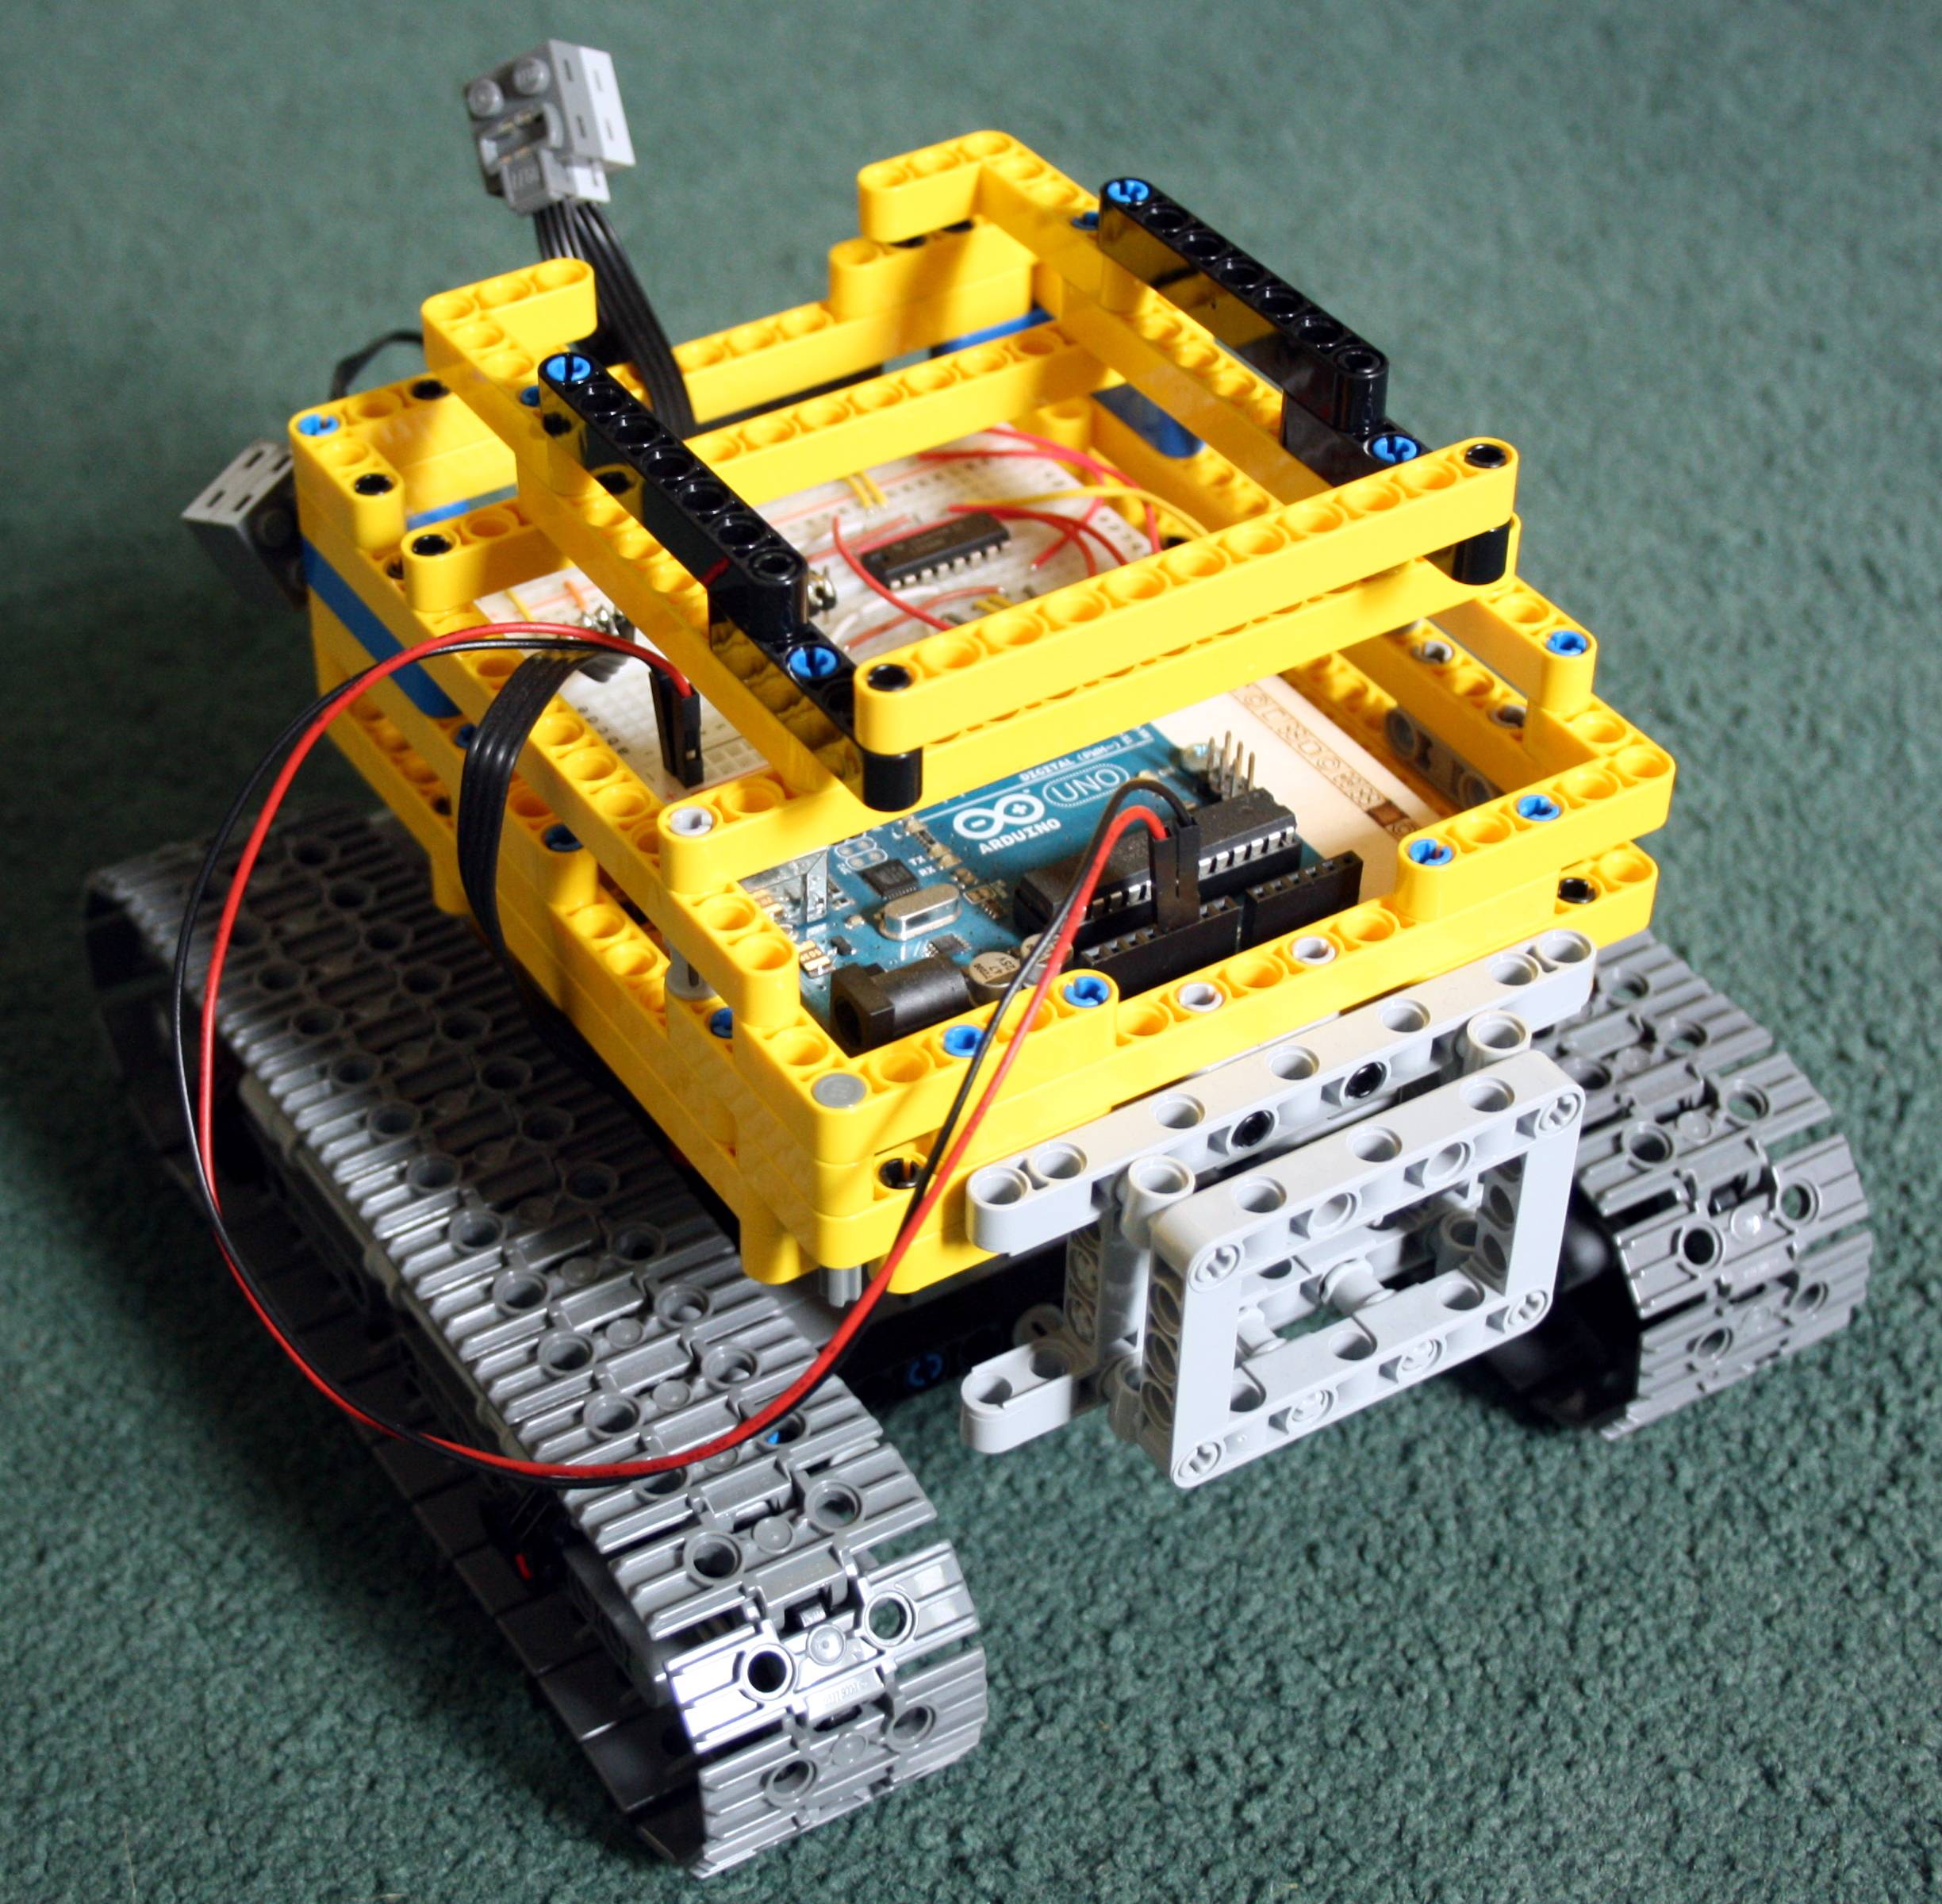
And so the Arduino, for a while, fell by the wayside. I considered other projects, such as a home weather station, but nothing really had the appeal of a robot. Eventually, I took the plunge and just decided to make a robot using LEGO. I bought a LEGO Technic set, a few PowerFunctions motors and got cracking. The set I bought provided a pretty good design for the wheelbase of my robot, and I didn't need to modify it much to add two XL motors and a battery pack. I then built a sort of cage structure to house the Arduino and breadboard. As an afterthought, I added a bay on top to house my Raspberry Pi, in case I wanted to incorporate that at a later date.

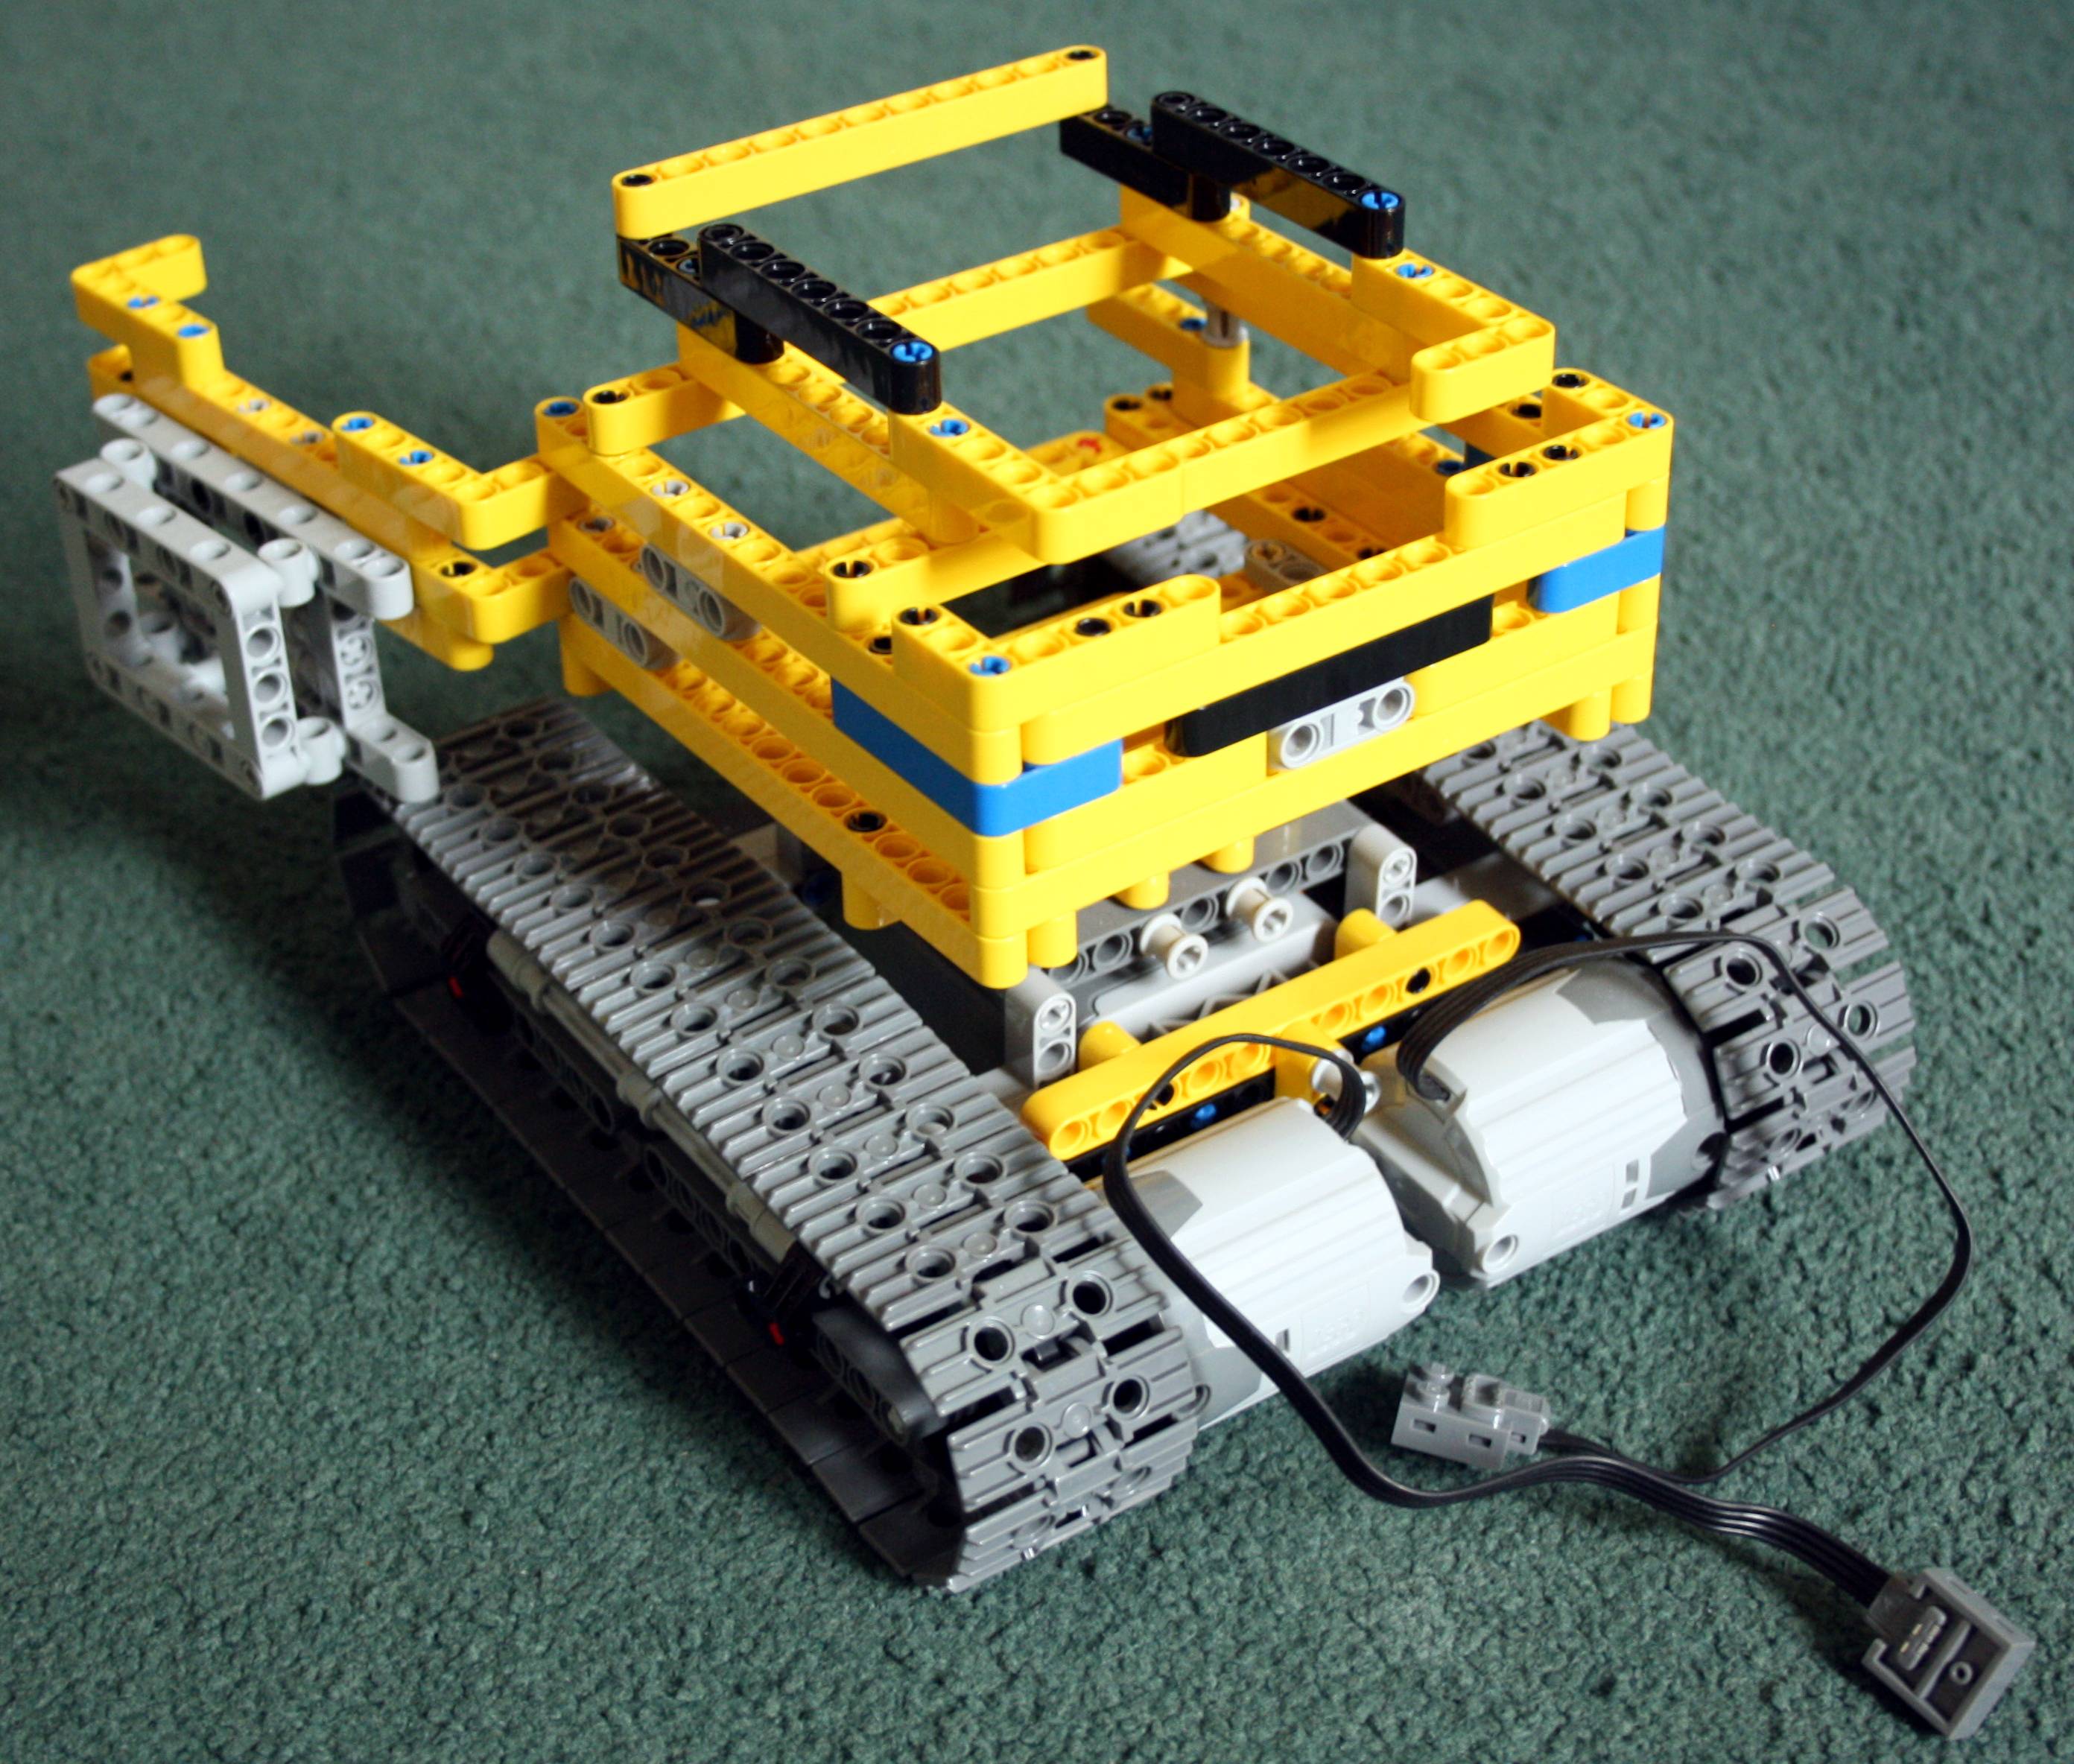
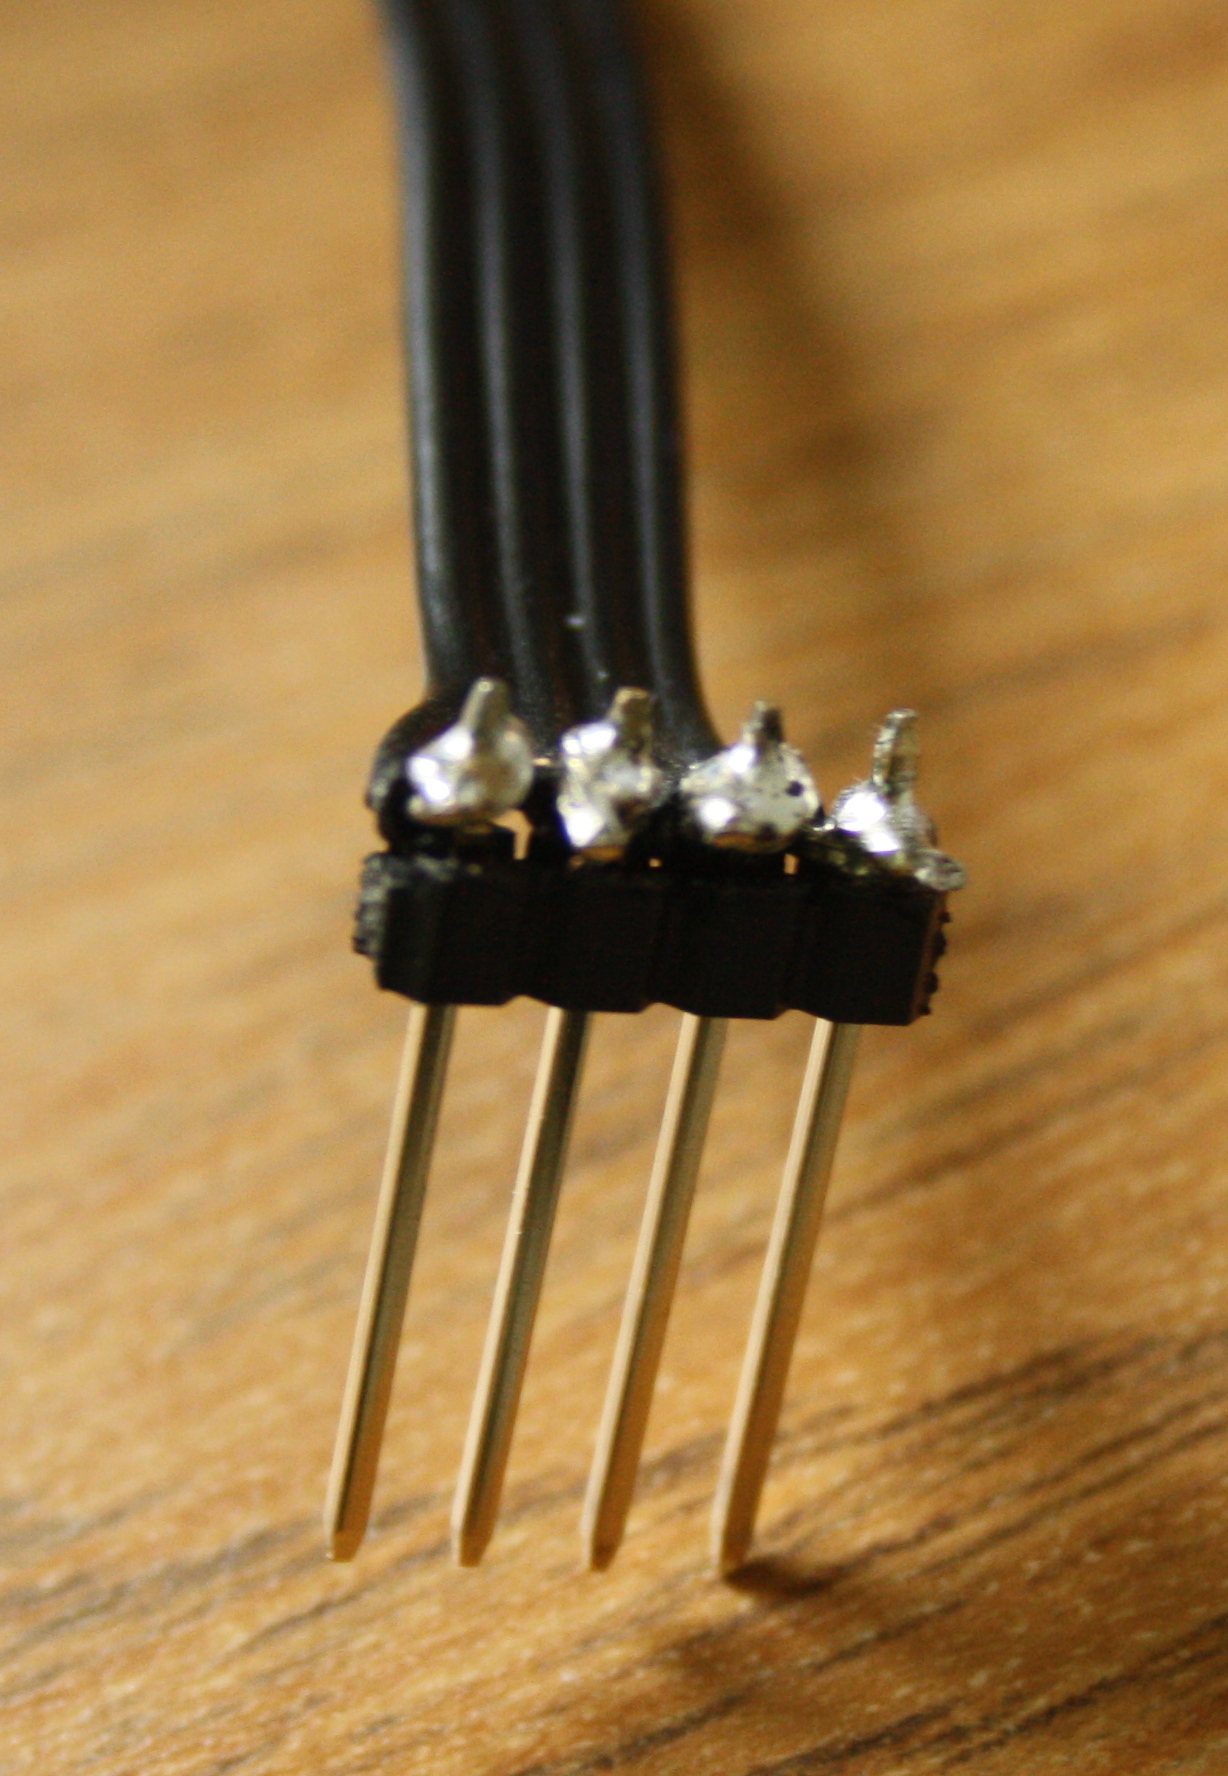
The Arduino project book contains a project that introduces you to the H-bridge and motor control, and it was pretty straightforward to extend this to the case of two motors (excuse my detestable wiring skills). The question still remained over how to connect the Arduino to the LEGO motors. In the end I decided to bite the bullet and solder the motor and battery pack wires onto a set of header pins. I found some information on the PowerFunctions wiring layout here. I hadn't done any soldering since school, and I did end up burning myself a few times, but overall I don't think I did too badly, all considered.
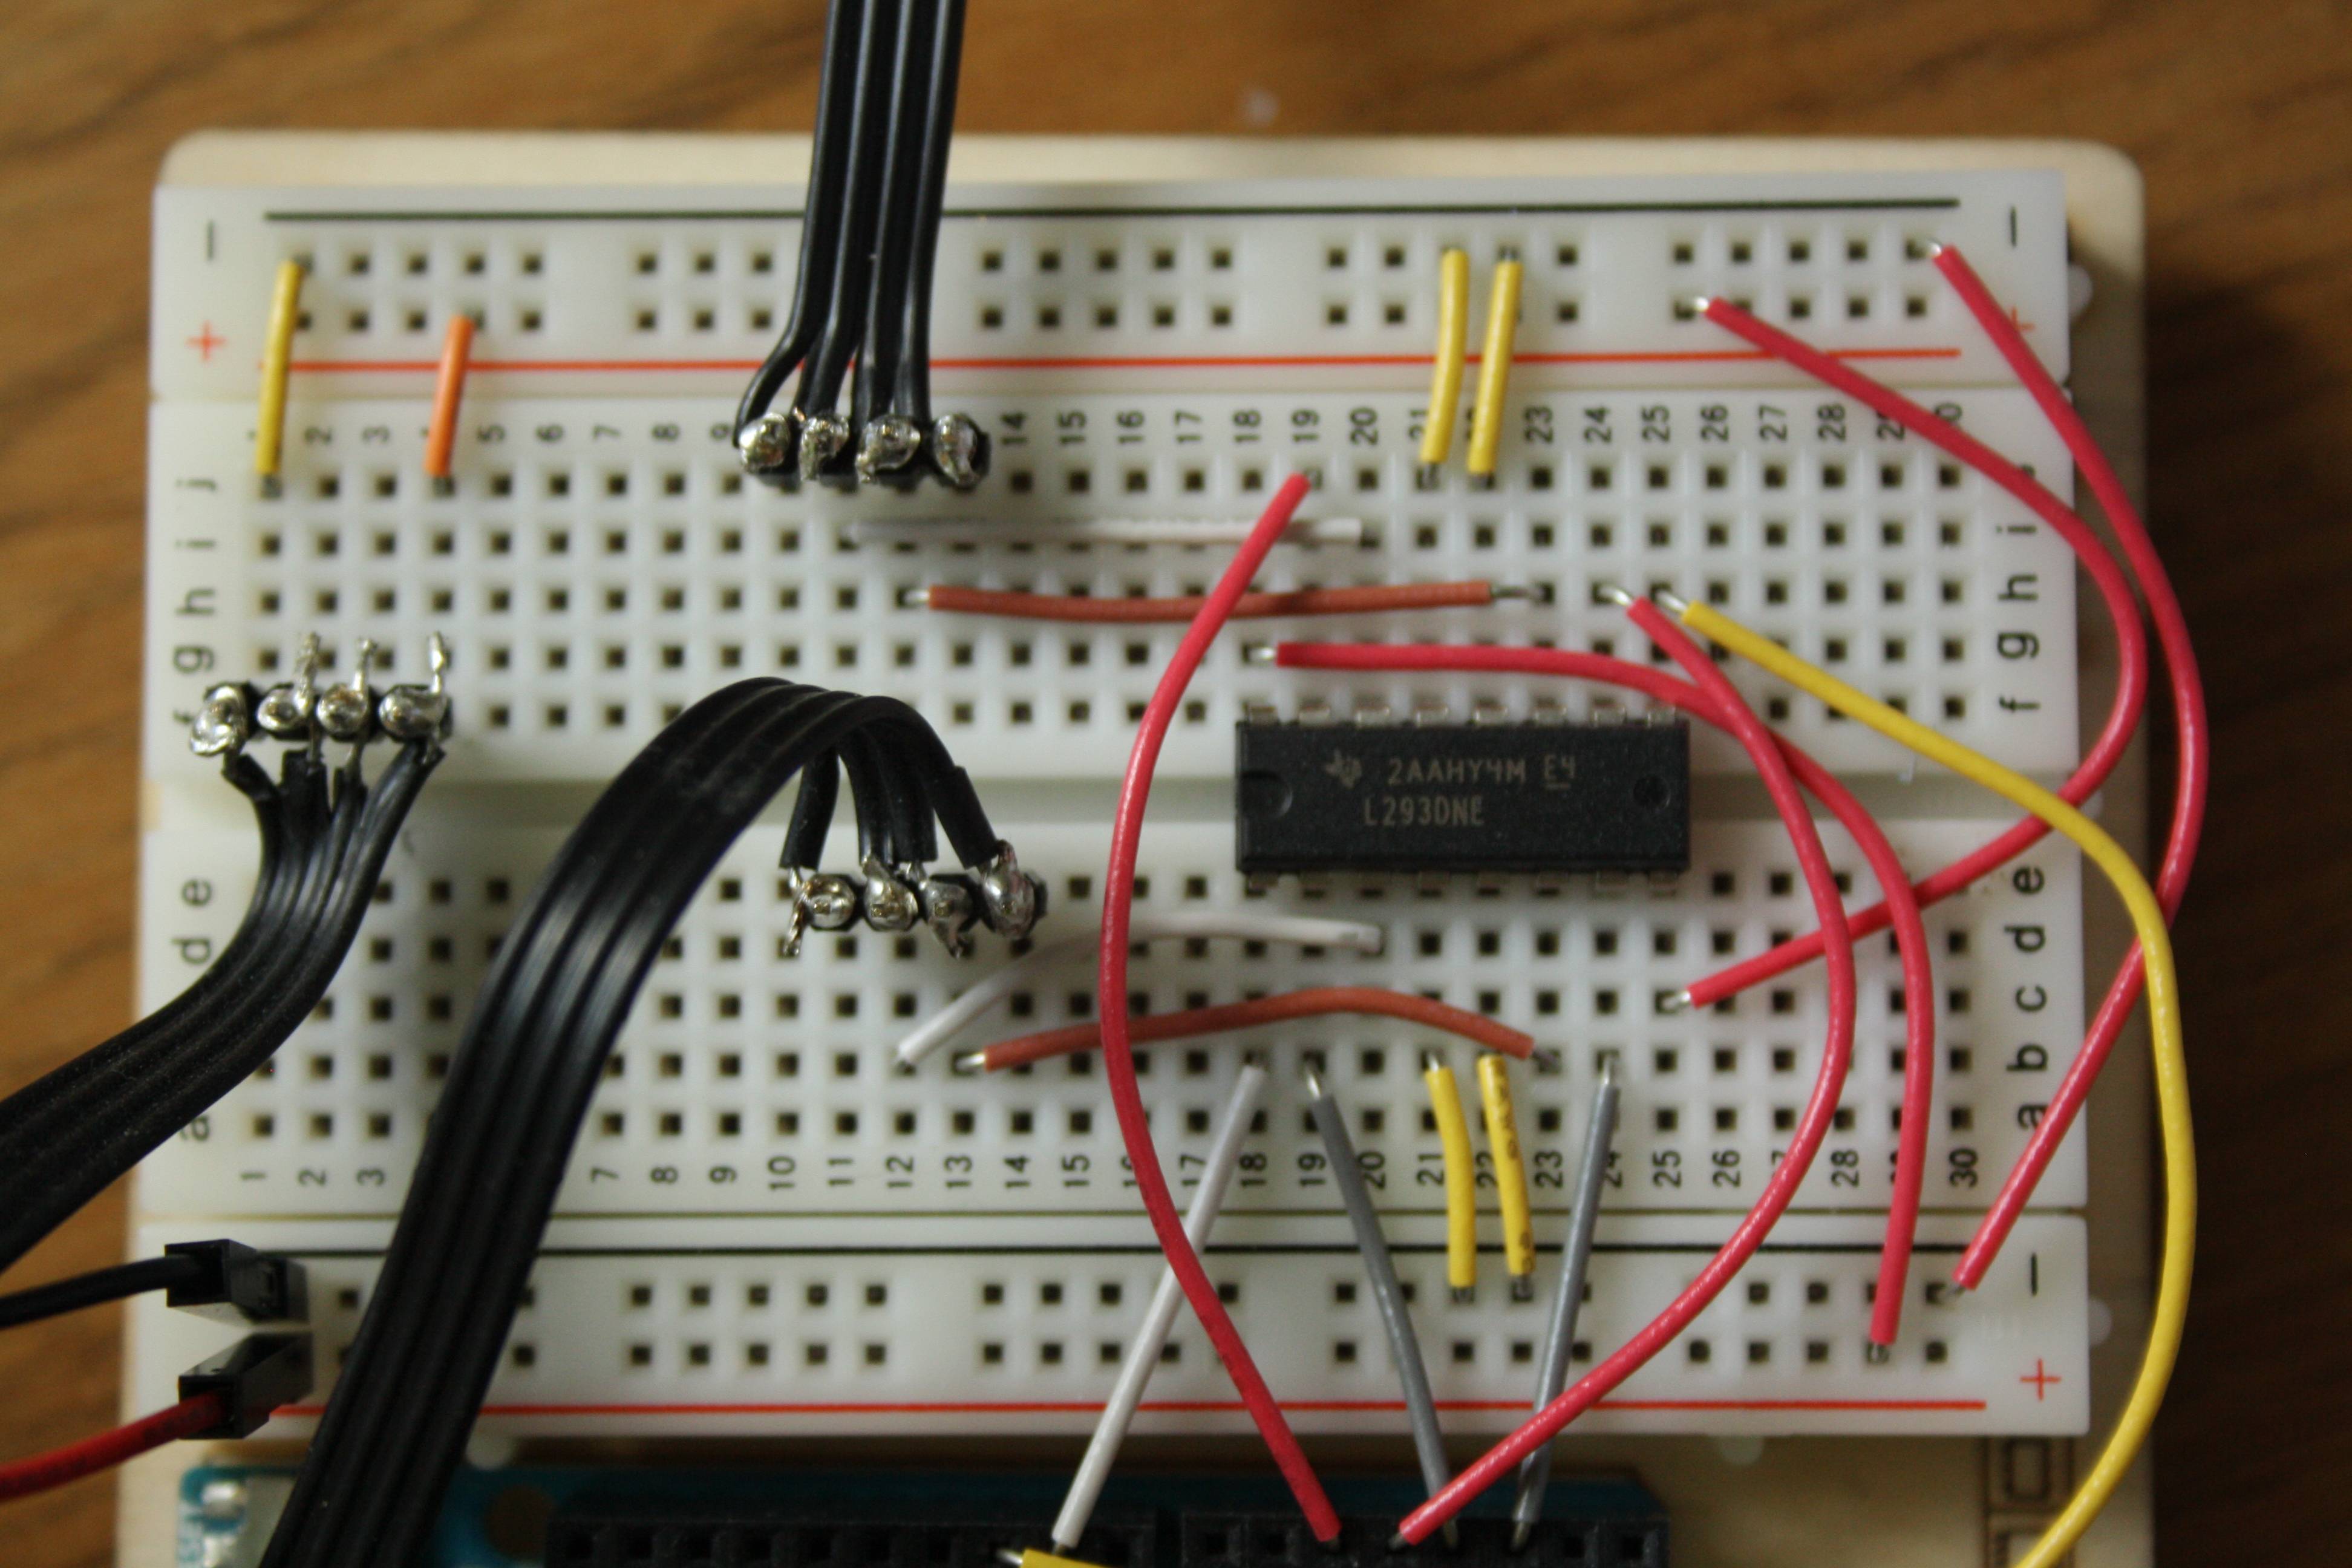
With the hardware in place, it was time to give the new robot some instructions. I opted for using the Arduino Uno as a slave, receiving messages over its serial port and controlling the motors accordingly. This is fairly standard stuff, and I was able to find plenty on the Arduino site to guide me on the best way to implement this. Once this was set up, I was able to control the motors from my computer using the serial port. Having to type out commands was a bit cumbersome though, even more so when I wanted to stop the robot colliding with something. I needed some software on the computer side to allow me to send commands easily.
I initially considered Python as the language to write the interface in, but I soon realised the latency would be too high and the robot just wouldn't be responsive enough, so I went with C++ instead. I used Boost.Asio for the serial communication, not wanting to get too bogged down in platform-specific serial implementation details. Something that stumped me for a bit was the fact that connecting to the Arduino over the serial port actually resets the device, meaning there is a pause before communication is actually possible. I solved this by having the Arduino send a ready message over the serial port when it started up. The computer-side code would wait for this message before continuing. Finally, I provided a web interface with keyboard input to make it easier to control the robot. I did this using the Crow web framework, a lightweight web framework for C++. You can check out my source code here.
I've made a short video demonstrating the end result here.
There's a lot more that I could do with this project. Here's a few things I'm considering:
- Incorporating my Raspberry Pi, a battery pack and wireless dongle to provide completely wireless control;
- Adding a Raspberry Pi camera module and putting a live feed in the web page;
- Adding some sensors, such as an ultrasonic sensor, to allow the robot to detect and avoid obstacles autonomously.